Adding photos by Collaborators
Add Photos in CrossCountry App
This is the quickest way to add final dressed photos to your course. It requires a CrossCountry Pro subscription. Contact us for a free subscription for your photographer.
Portrait photos are best if you are taking a single photo of each fence because they fill the screen better. Landscape can be used if adding multiple photos
Video Tutorial
Step by Step
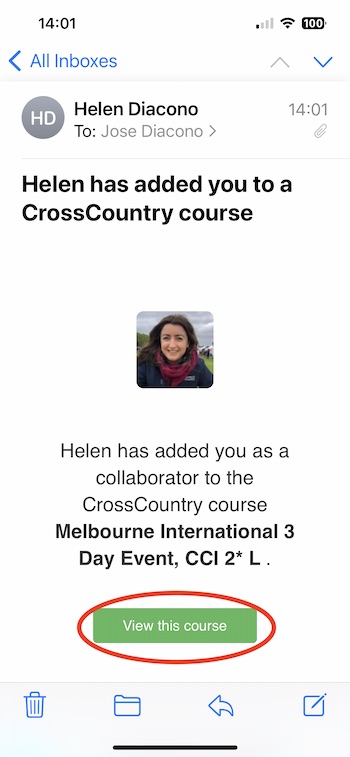
- You will receive an email invitation when you are added as a collaborator to a course. Click ‘View this course’.
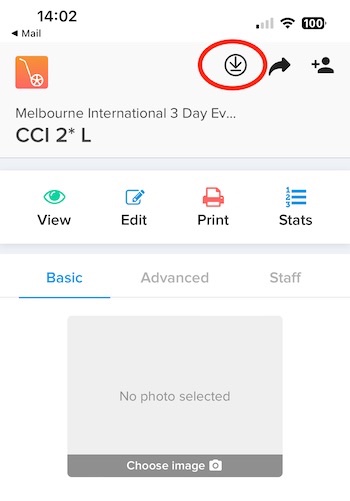
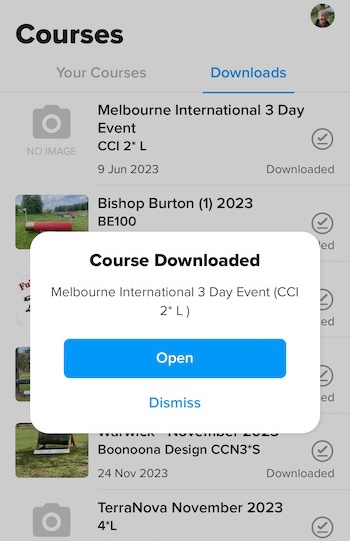
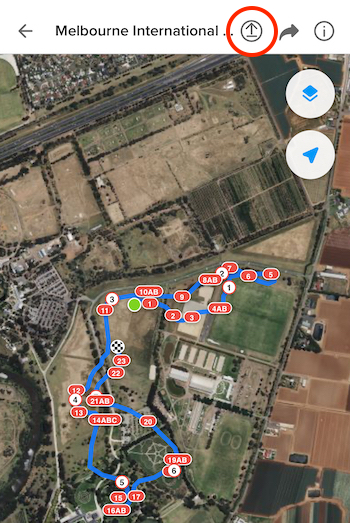
- Tap the Download arrow and the course will download to CrossCountry mobile app. Find it in Downloads. Repeat for multiple courses
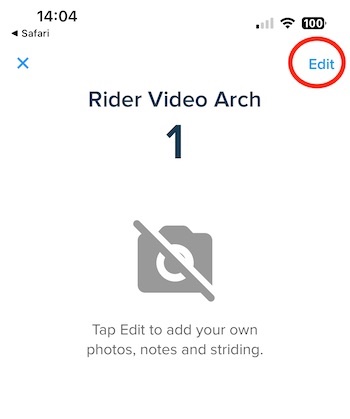
- Open the course and tap Fence 1
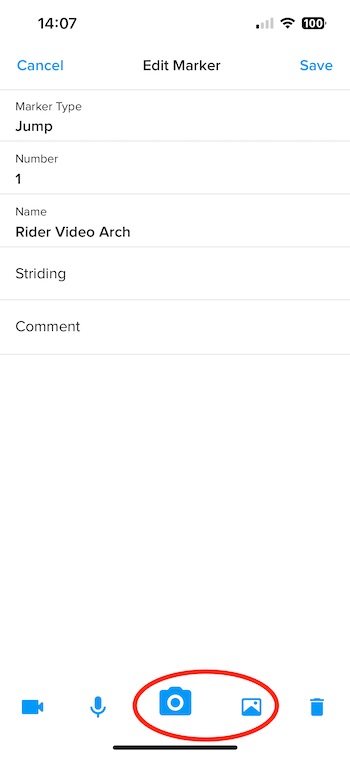
- Tap Edit and tap the camera icon to add a photo. Take the photo and tap Save. Portrait photos are best if you are taking a single photo of each fence because they fill the screen better. Landscape can be used if adding multiple photos
- You can also add photos from your camera roll. This is ideal for when you are photographing several courses at once.
- Swipe left to go to the next fence
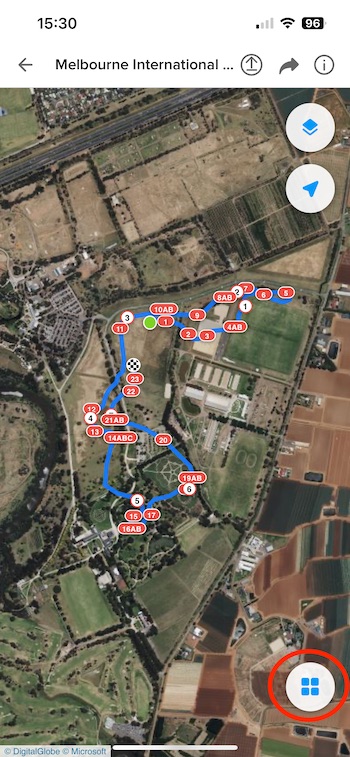
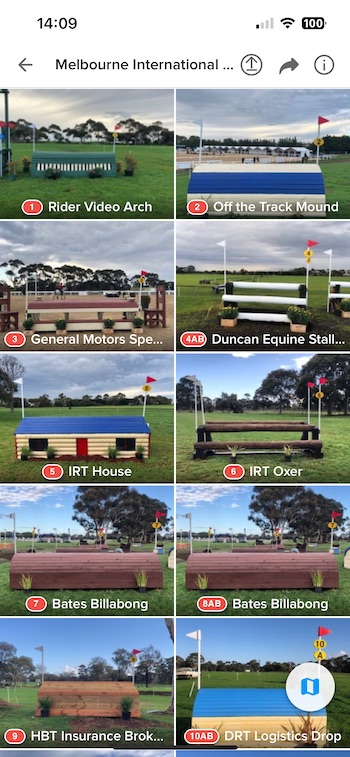
- When you have finished taking photos, return to the map and select Gallery view.
- Check you have all your photos
- Tap the upload arrow.
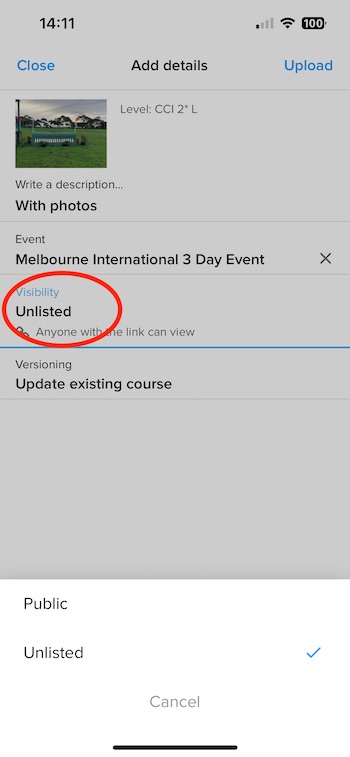
- Optionally add a description (E.g. Now with photos).If you want to make the course public at this point, change the ‘Visibility’ field to Public
- Keep the app open until the course has uploaded
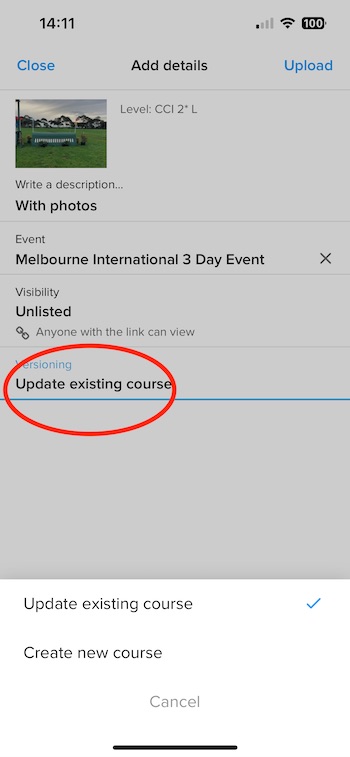
- If you are a collaborator with Edit permission you can update the existing course. This is preferable because the course will appear in the course library as owned by the Course Designer (rather than you)
- If you are a collaborator with View only permission you will create a new course when you upload. This course will appear in the library as owned by you rather than by the course designer