Create a course
There are 4 ways to create a course in the toolkit:- Map the course with GPS using CrossCountry app and upload it
- Duplicate an existing course
- Draw a track from scratch with the Free Draw Tool
- Import a KML track
Upload from CrossCountry App
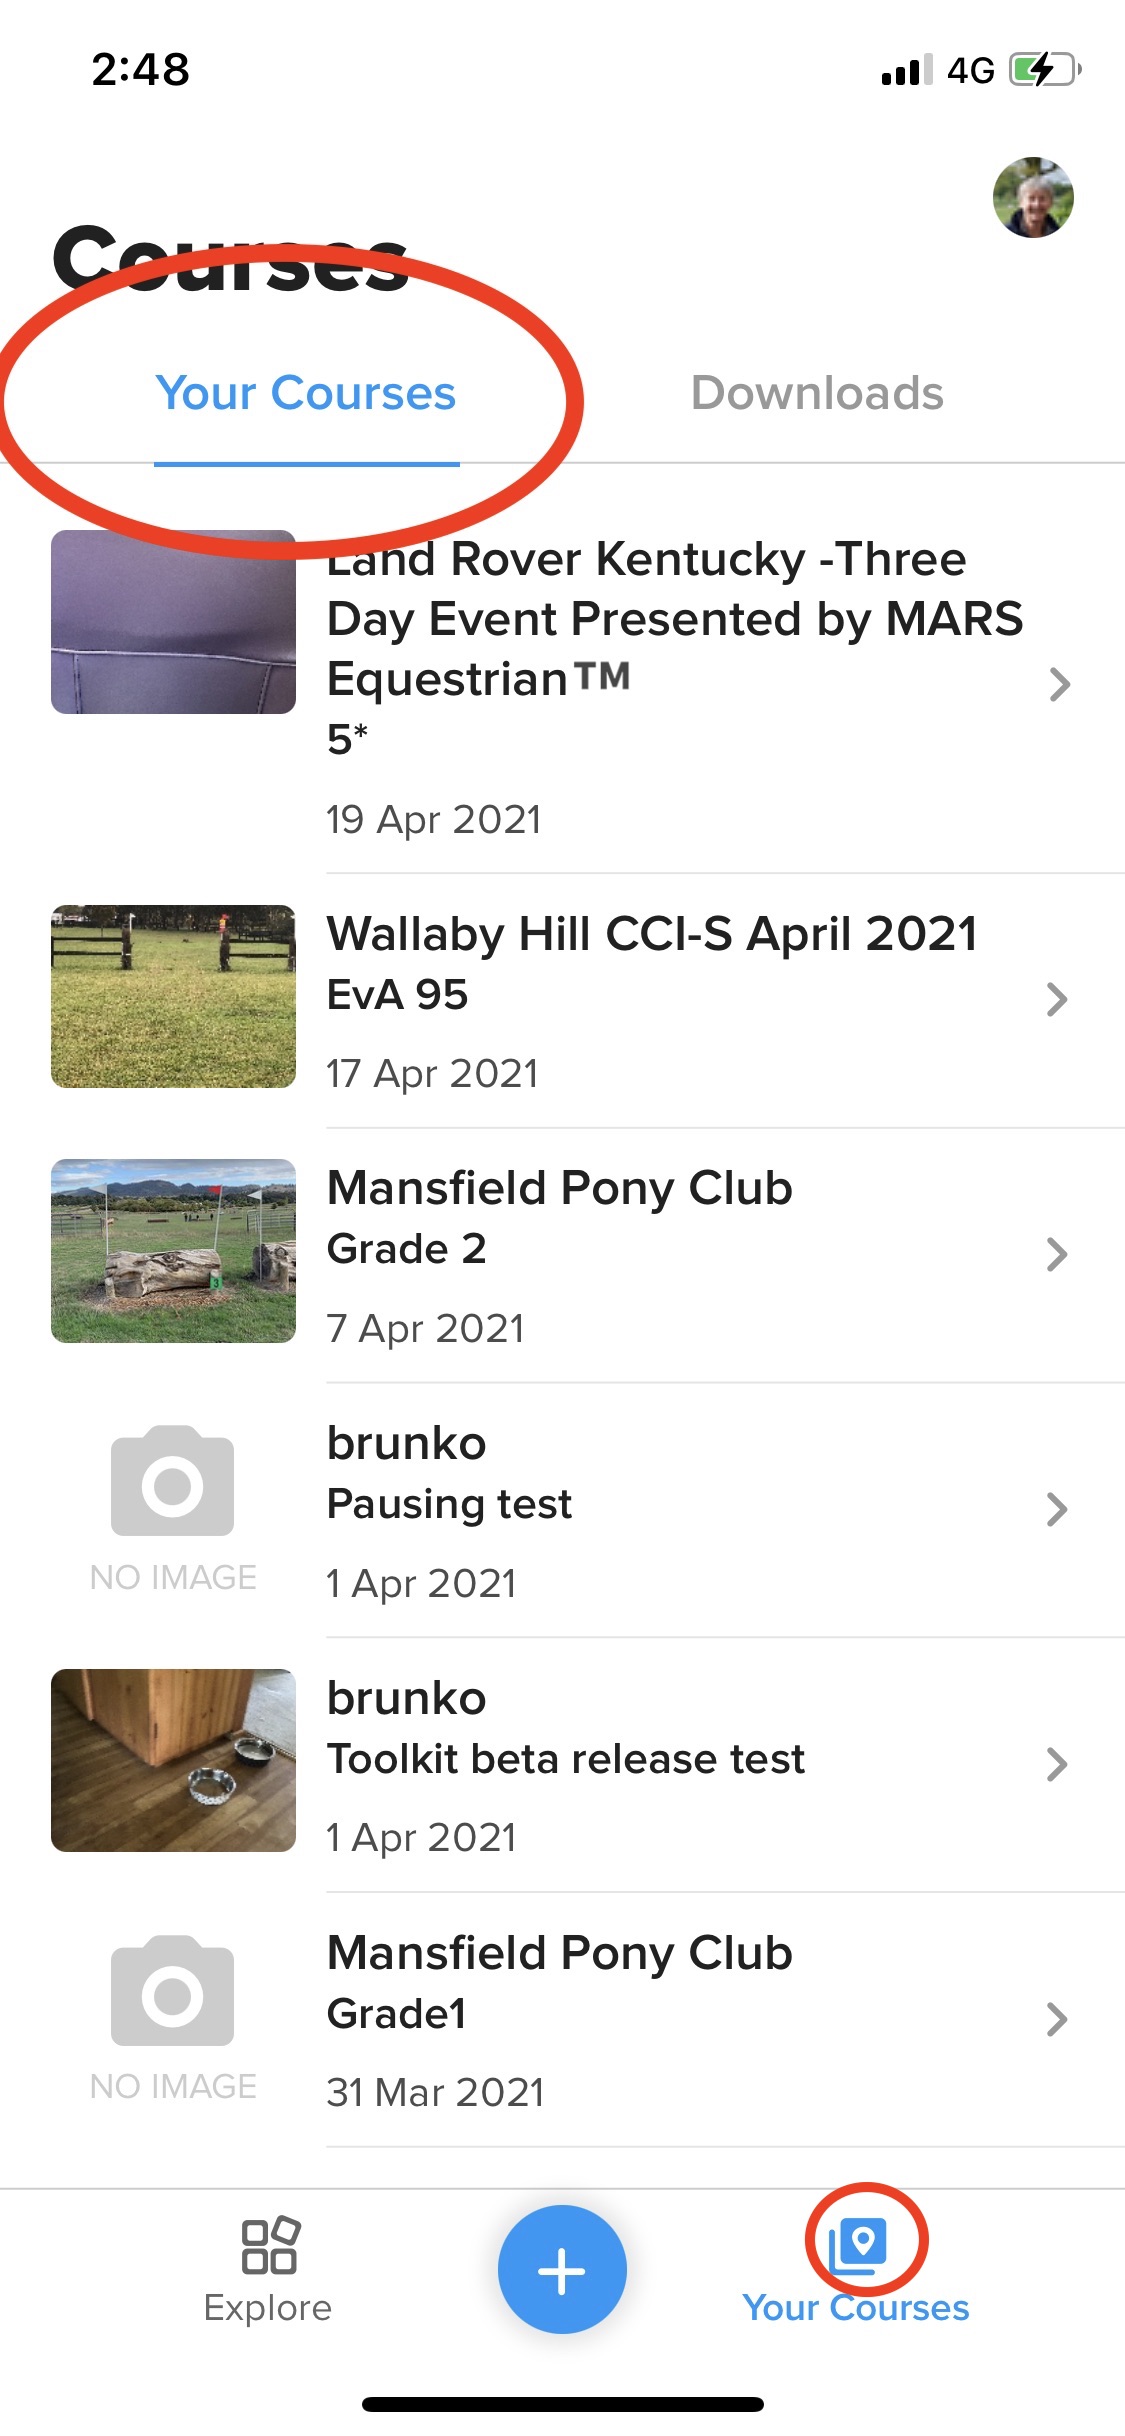
- Open CrossCountry app on your phone or tablet
- In "your courses" select the course to upload
- Tap the Upload arrow
- Edit description or Optimum time if needed
- The thumbnail will be the last photo on the course
- Change the visibility from Unlisted to Public for your course to appear in our library
- If you have been given edit collaboration rights, you will have the option to update the existing course. Otherwise you create a new version
- Tap "Upload" top right
Video Tutorial
Duplicate an existing course
Duplicating a course saves a lot of time if there are just small changes to be made. It may be a course from a previous competition or you might duplicate a 3* course to create the similar Intermediate one.Step by Step
- Open the Toolkit and find the course. Remember to choose "All Events" in the drop down to search for courses you do not own
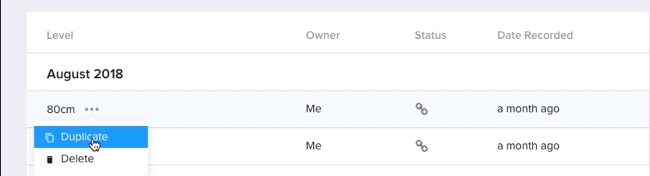
- Tap the 3 dots next to the course name
- Select duplicate. The new course will be called copy and will be unlisted. Only I can see it unless I choose to add Collaborators
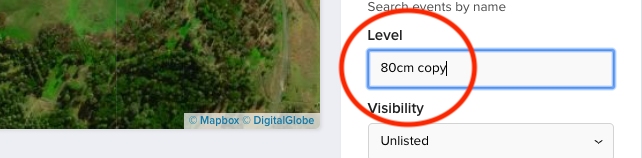
- Open the course and change the name in the Level
- Delete the description if e.g. someone else has recorded the course so that their name does not appear on your new course and remove the Optimum Time if that will be different
Video Tutorial
Draw a track
Create a course from the comfort of your office
Video Tutorial
Step by Step
- Open the Toolkit on your desktop. You can use a tablet or phone but we recommend starting witha PC or Mac.
- Find the event you want to create the course in. Or create a new event
- Click the Create Course button
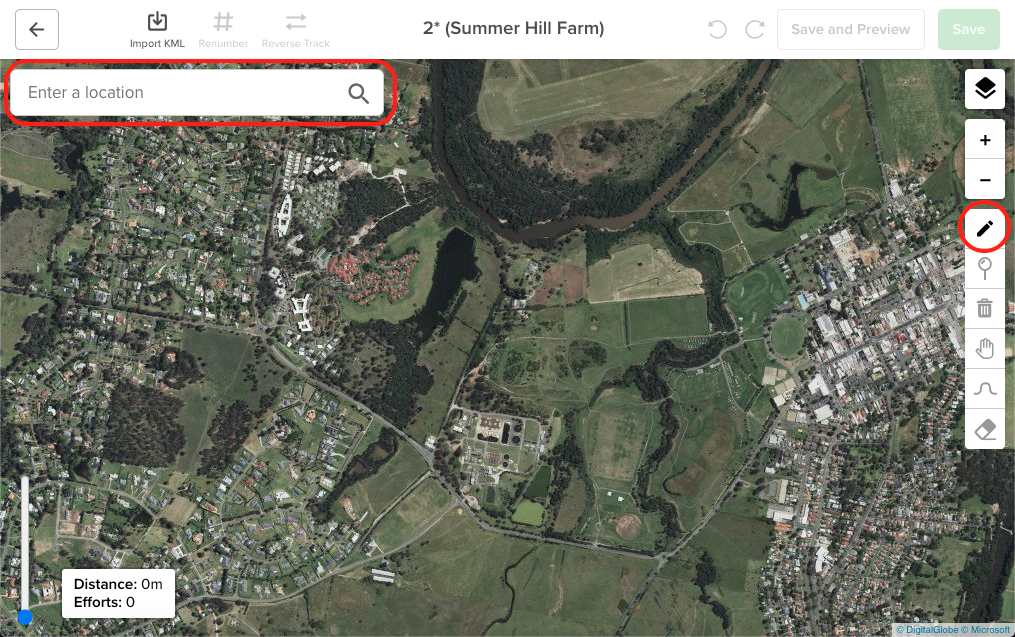
- Enter the location of the venue in the search bar. If you are creating a course in an event that already contains courses then it will place you on the map at the location of the other courses
- Select the Draw Track Tool
- Click the map to select your starting position and continue adding GPS points by clicking the map
- To pan around the map while you are drawing, click and drag the map
- Click accept to finish drawing the track (or press enter on your keyboard)
- To extend a track, click the Finish or Start to continue drawing the track
- To delete the track and start again, select the Eraser tool and click the Start and Finish.
- To add a loop or redraw a section of the track, select the Draw Track tool and click the point of the track you want to start a loop. Draw the loop and click the main track to rejoin
- Note that every time you ‘accept’ changes you can undo/redo these changes.

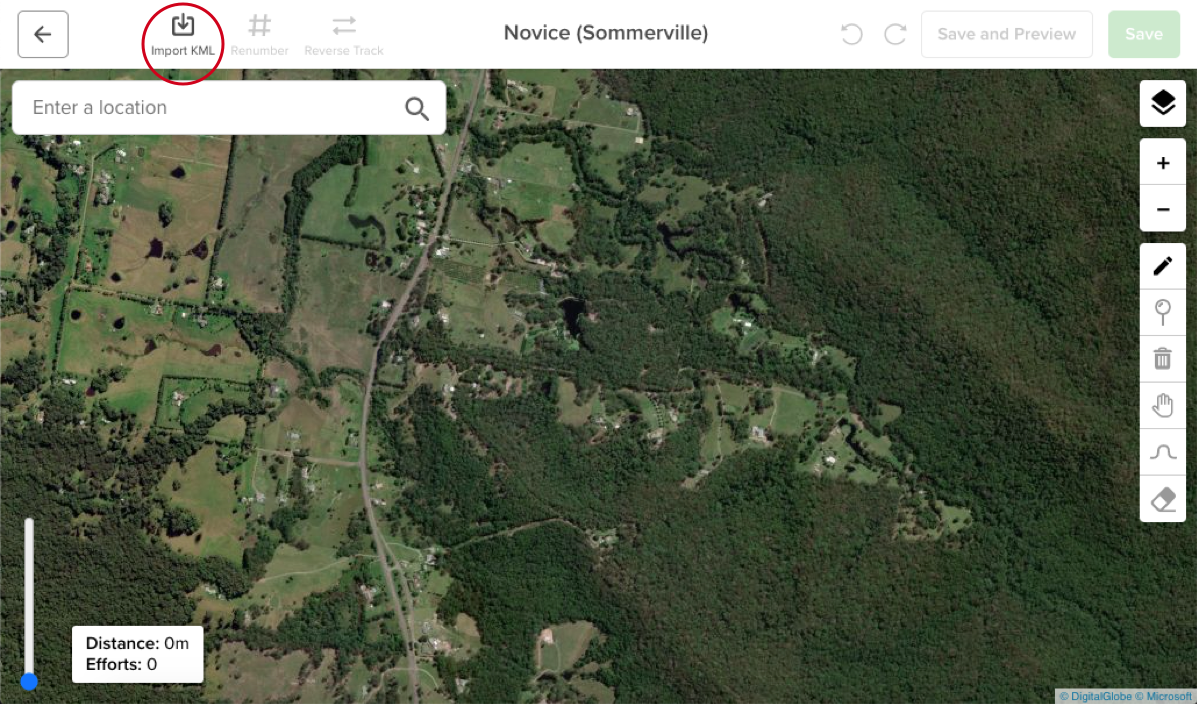
Import KML
You can import a KML file from software programs such as Google Earth or Daft Logic.
Step by Step
- Open the Toolkit
- Find the event you want to add the course to or create a new event
- It's very easy to end up with a lot of events with similar names if you are not careful. Read our Tips and Best Practise to avoid this
- Click the Create Course button, enter Level (e.g Novice) and speed
- Click Import KML
- Select the KML file from where you have saved it on your computer
- It will open the track and now you can start adding your fences

Video Tutorial
The Toolkit can import KML from most other sources. Having a problem? Contact us.