Share & Collaborate
Your courses are a valuable up to date source of information. Share them privately with your team before the event, and later with riders, spectators and online fans
Add and Manage Collaborators
The owner of a course can invite others to collaborate on a course either by editing it or just viewing it privately. For example the Event organiser might add final fence names, another team member uploads the photos. This can save much duplication of information and effort
Step by Step
- Open the Toolkit
- Search for the event and open the course
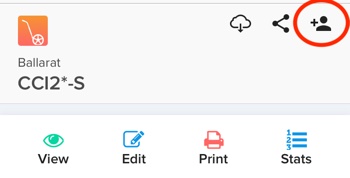
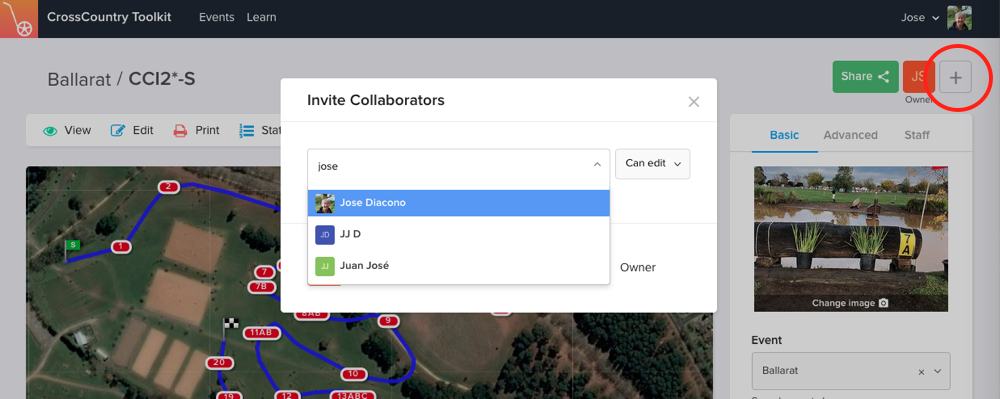
- Tap the collaborate icon + on desktop
- It looks like this on phone/tablet
- Search for the person using their full name. They must have an account. If you do not find them check that they have an account and the name they have used
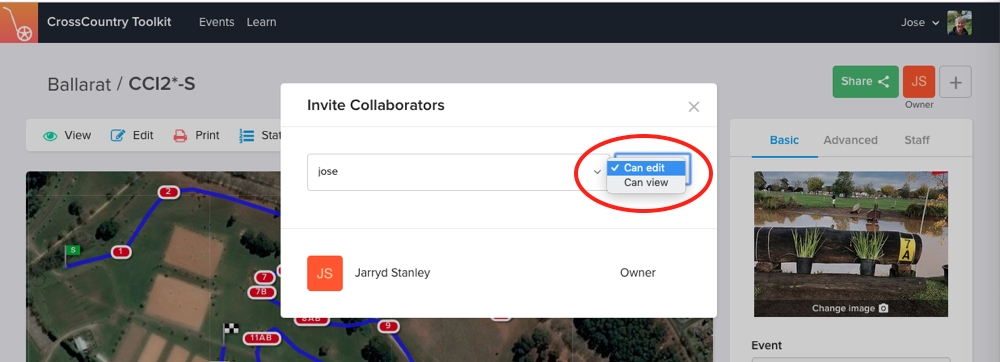
- Decide if they should have view or edit access. They need edit access to print maps
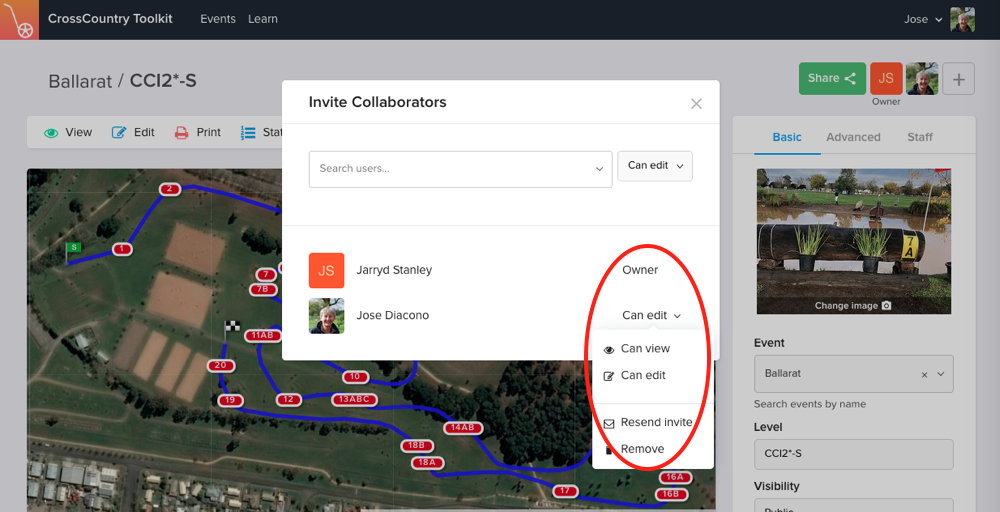
- You can change their access at any time
- Optionally type them a message
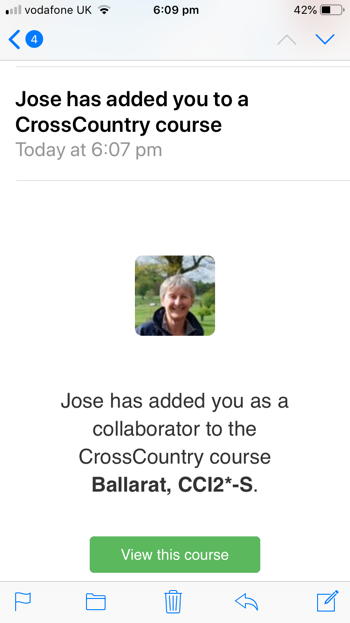
- They will receive an email. The link takes them straight to the course, which is now listed in their Toolkit account
Watch our Colloboration Webinar
Quick View of the webinar presentation pdf
Share a link to a course
Step by Step
- Open the Toolkit and find the course.
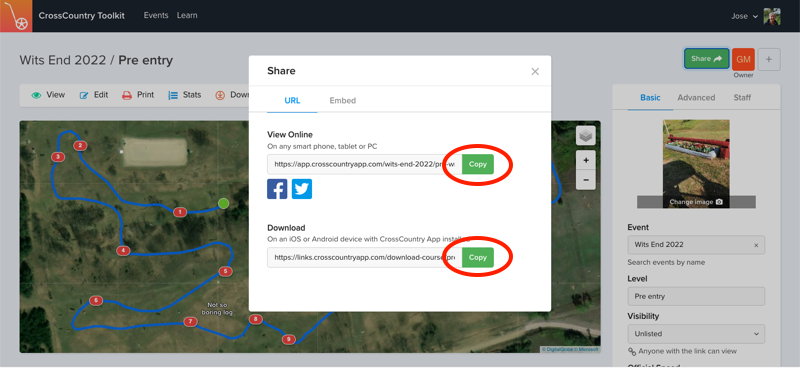
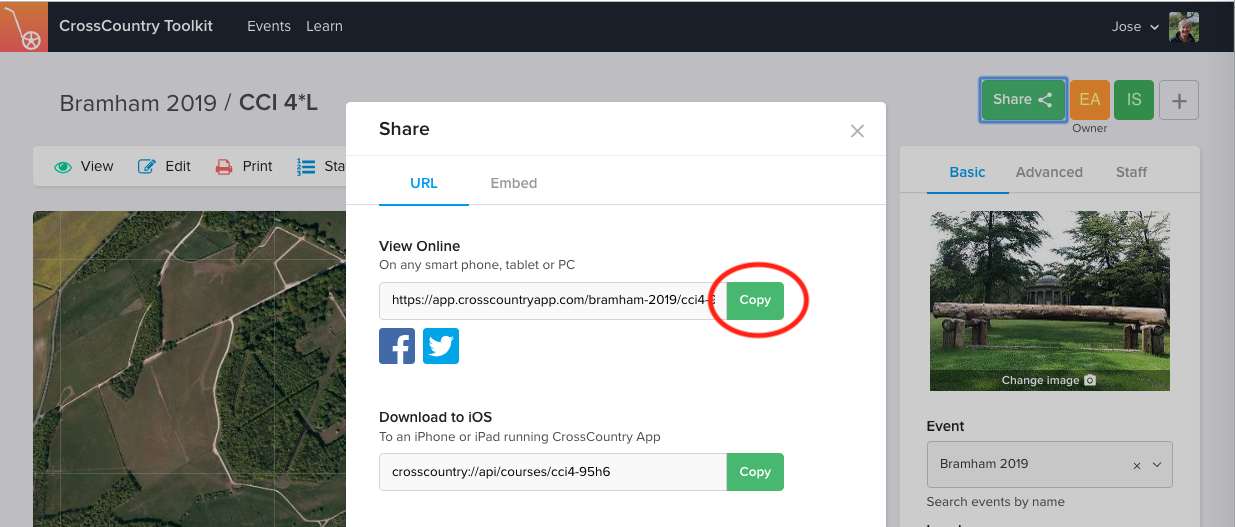
- Tap the Green Share button
- Choose either the link to the online course or if you know the recipient has CrossCountry app, use the download link. The course can be either public or unlisted
- Email links directly to your fence judges to help them find their fence
Share on social media
Promote your course by sharing on social media
Step by Step
- Open the Toolkit and find the course.
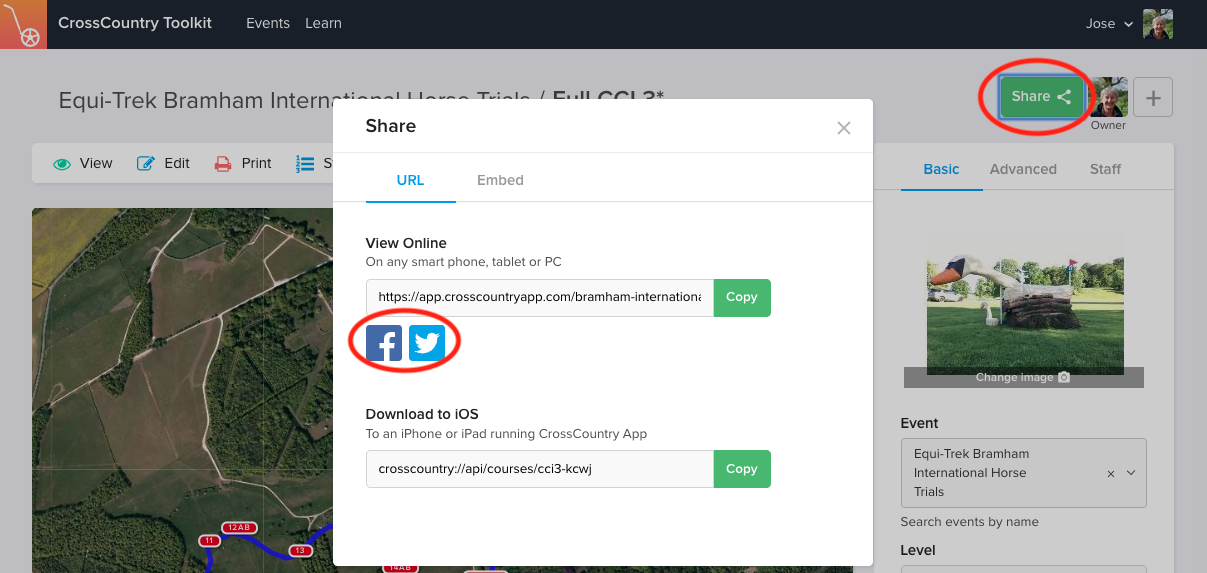
- Tap the Green Share button
- Tap the icon. Please note you can share to a personal page but Facebook may not allow you to share to a business page. A workaround is to copy the online link and paste into your Facebook post
Embed the link on a website
You can embed the map in a web page so that web visitors remain on your site
Step by Step
- Open the Toolkit and find the course.
- Tap the Green Share button
- Select the Embed tab
- Copy the html code and send to your webmaster
- Alternatively you can link the online link (URL) to text or a button

For more ideas on promoting your courses download our comprehensive and easy to follow kit with templates, posters, ideas and instructions
Download Course Promotion Kit HereVideo Tutorial
Still have a question?
Contact help@crosscountryapp.com